

Monk Documentation
We are happy to help you :)
Header & Footer
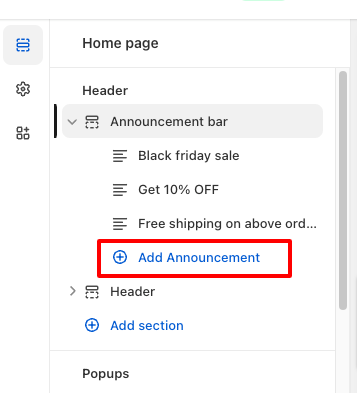
If you add multiple blocks of the announcement, it will automatically turns into slider.
Open theme settings by clicking "Customize" button on the theme list
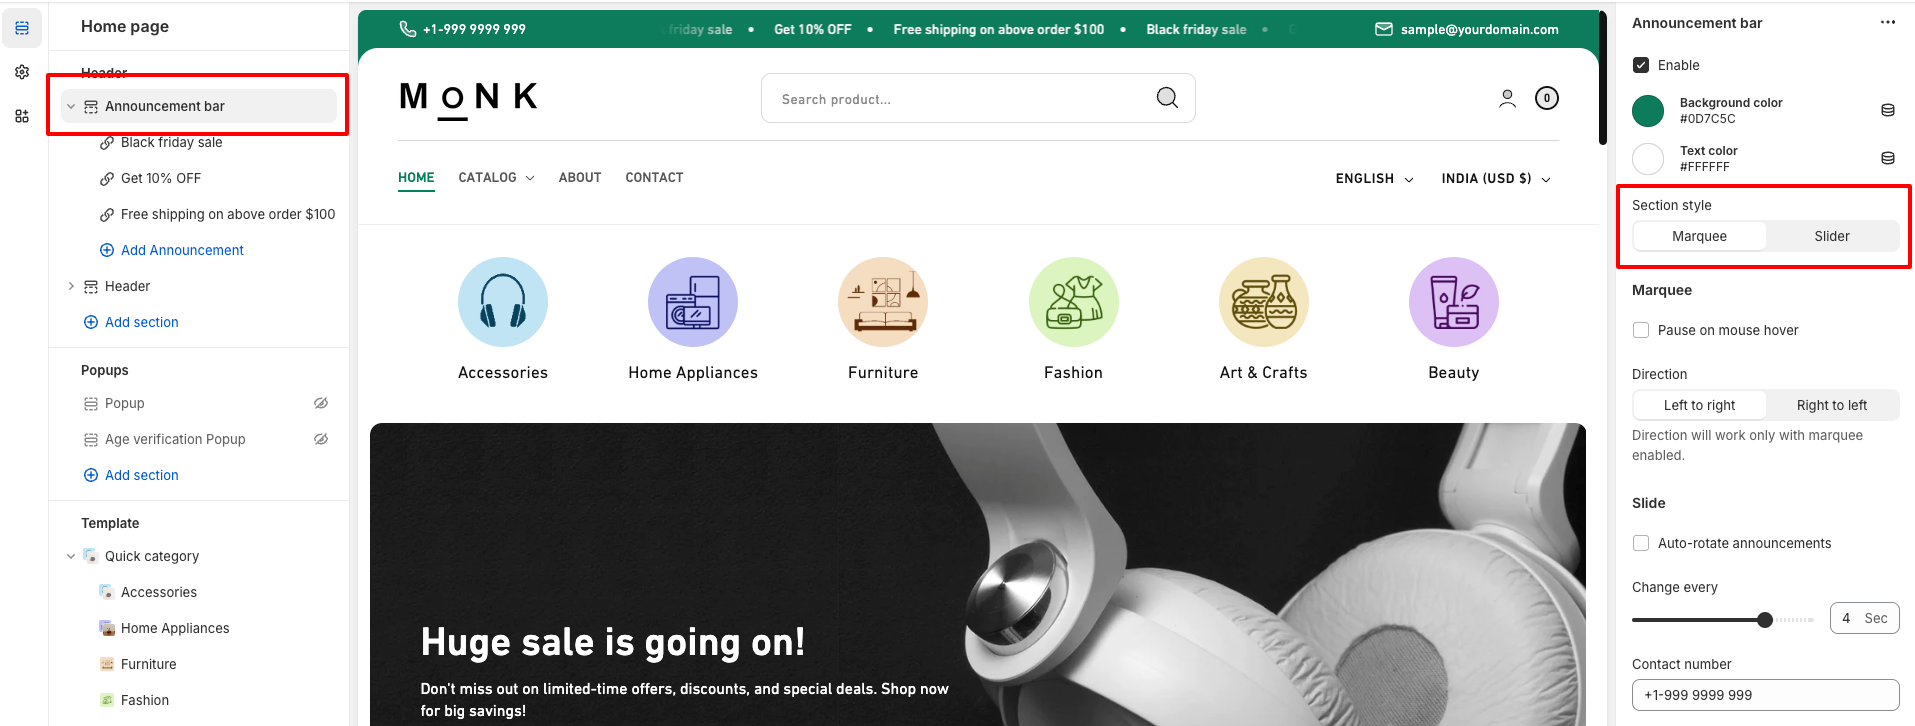
Click on the "Announcement bar" section and you will see all the related settings.
Enable slider or marquee for announcement text
Here you can see both options, you can switch your message between marquee scroll or slider for your announcement message.
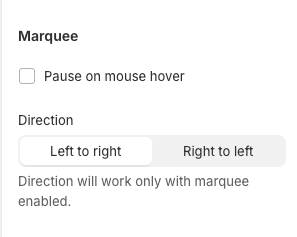
You can change marquee options according to your needs. You can set pause on mouse hover and direction of the scroll as well.
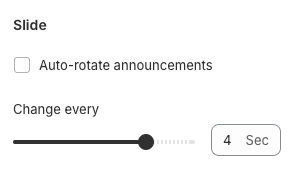
You have some slider options to set like auto rotate slide and change speed of auto rotate for the announcement message.
Add announcement slides
Click on "+ Add Announcement" for the add new slide of announcement message.
Add double size logo for the better quality
Open theme settings by clicking "Customize" button on the theme list
Click on the "global settings" from the left icons
On this, you can see "Logo" option.
In addition to standard dropdown menus, all our themes comes with a mega-menu feature. A mega-menu allows to show dropdown menu in a more elaborate and visual way. While the setup is pretty much the same for all our themes, the instructions slightly differ from theme to theme.
To read the appropriate instructions, please select your theme below.
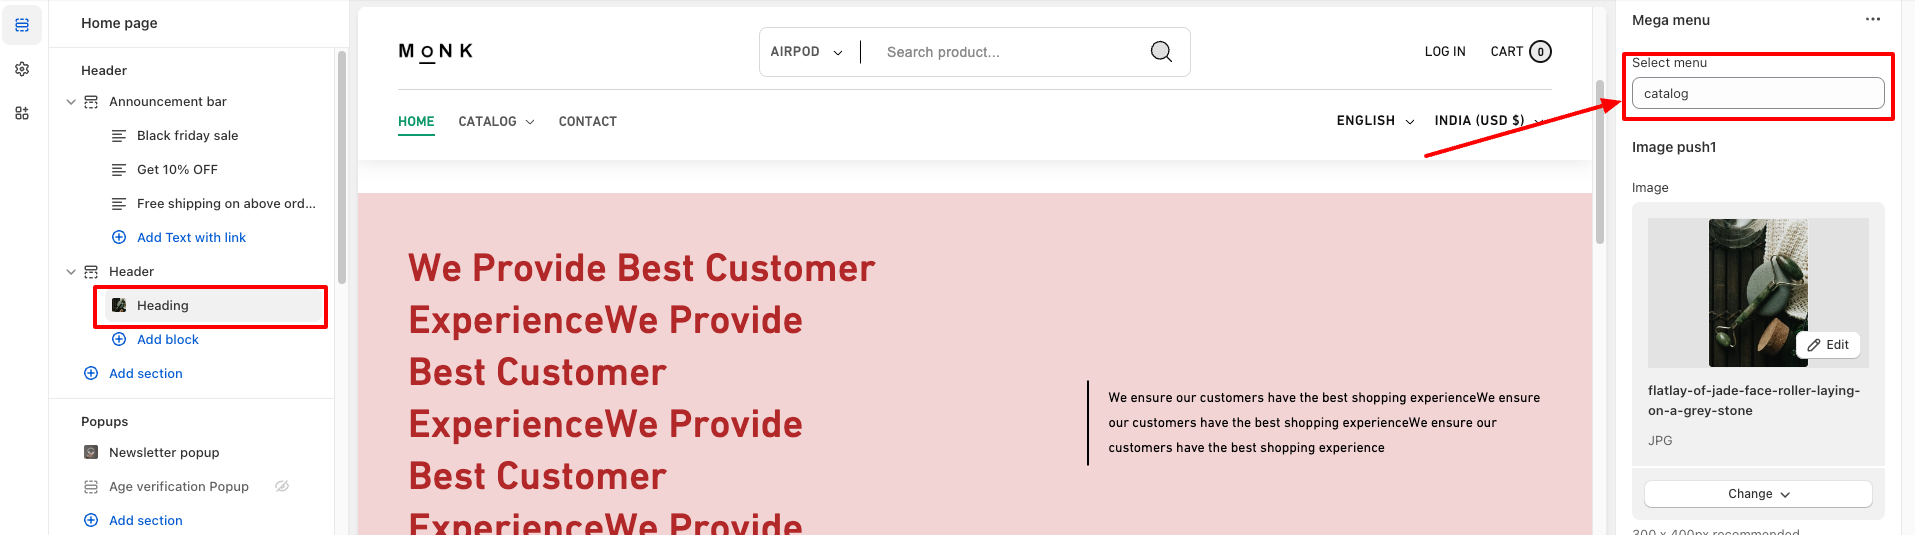
Monk mega-menu allows you to create several columns like this (this screenshot is coming from Monk):

First, you will need to define your menu structure by creating drop-down using the native Shopify menu interface. You can learn more on how to create menu and dropdown by following the official Shopify documentation. In order to properly use mega-menu, you will need to set up a three-levels structure. You can see below an example of how the previous navigation structure looks like in Shopify:
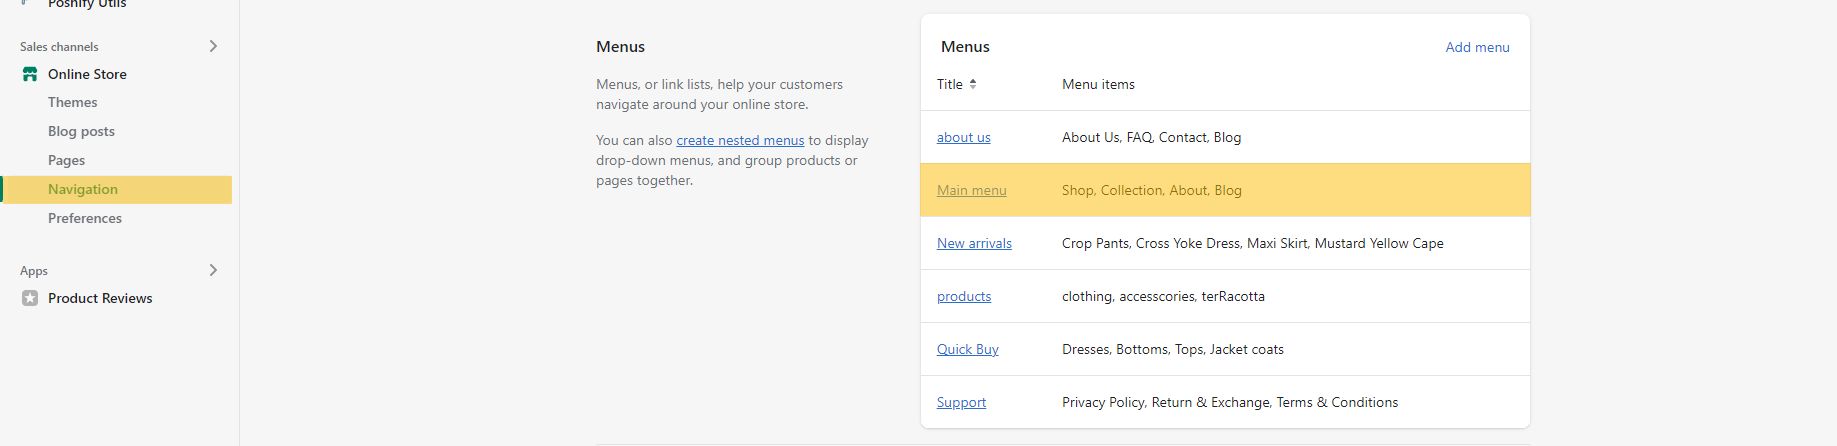
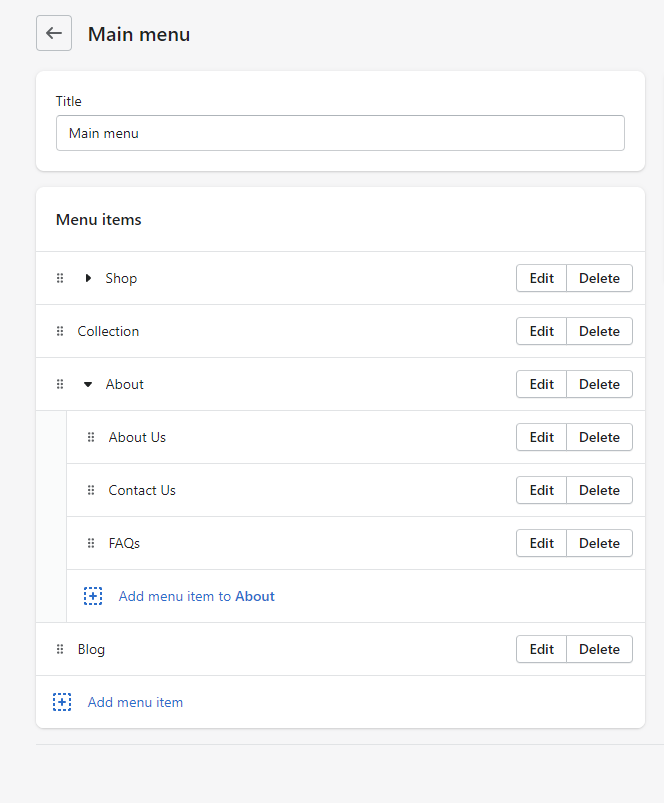
If you were using an older theme, your structure of menus may be different. In the past, creating drop-down menus required to create many menus with matching names. However, our theme Mono only support the new way to setup nested menus. You therefore need to make sure that the whole hierarchy of links is completely contained within your main menu, as in the above screenshot.

Then click on the "Add mega menu" button:

In the "Mega menu" setting, simply enter the name of the menu item that contains the mega-menu (this means that the name entered in "Menu item" must match the name of one of the first-level items list). For instance, in our example, the mega-menu is contained within the "Shop" link, so we simply need to enter "Shop":
Cart
Open theme settings by clicking "Customize" button on the theme list
Click on the "global settings" from the left icons
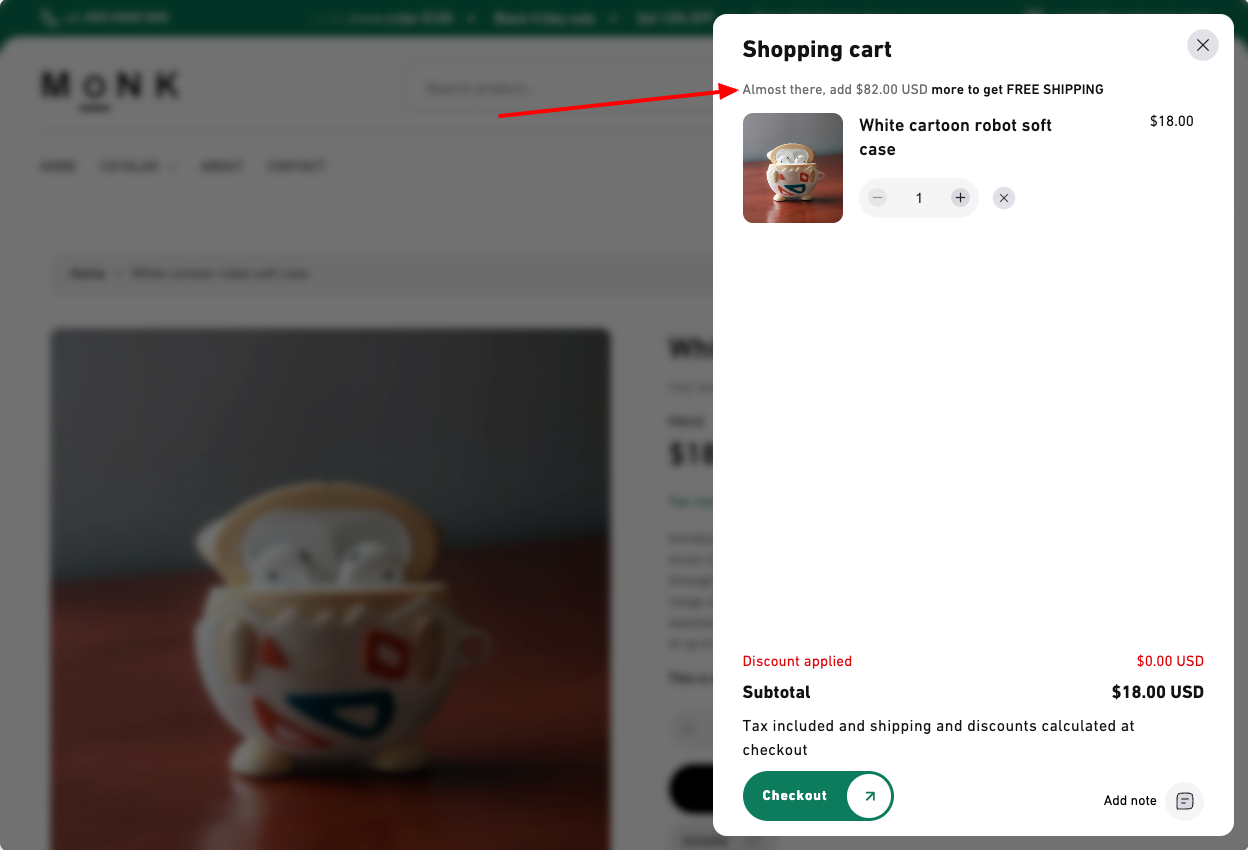
Click on the cart settings
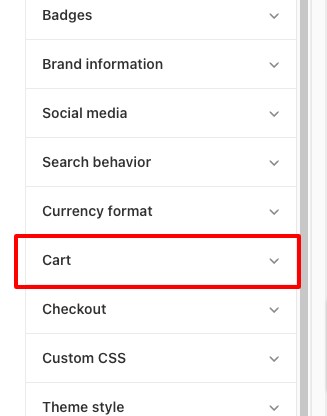
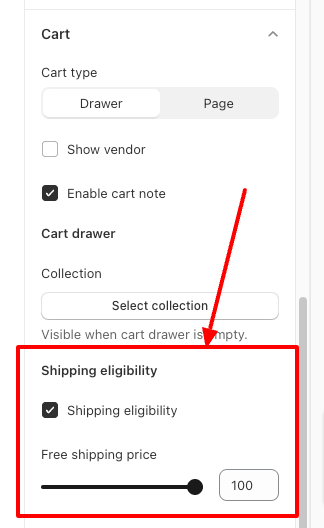
Under this, you will find "Shipping eligibility" option
If you will set it to 0 (Zero), Free shipping bar will be hide from the drawer and cart page as well
You can set eligibillity from $0 to $100 as per your need.
Sections
Open theme settings by clicking "Customize" button on the theme list
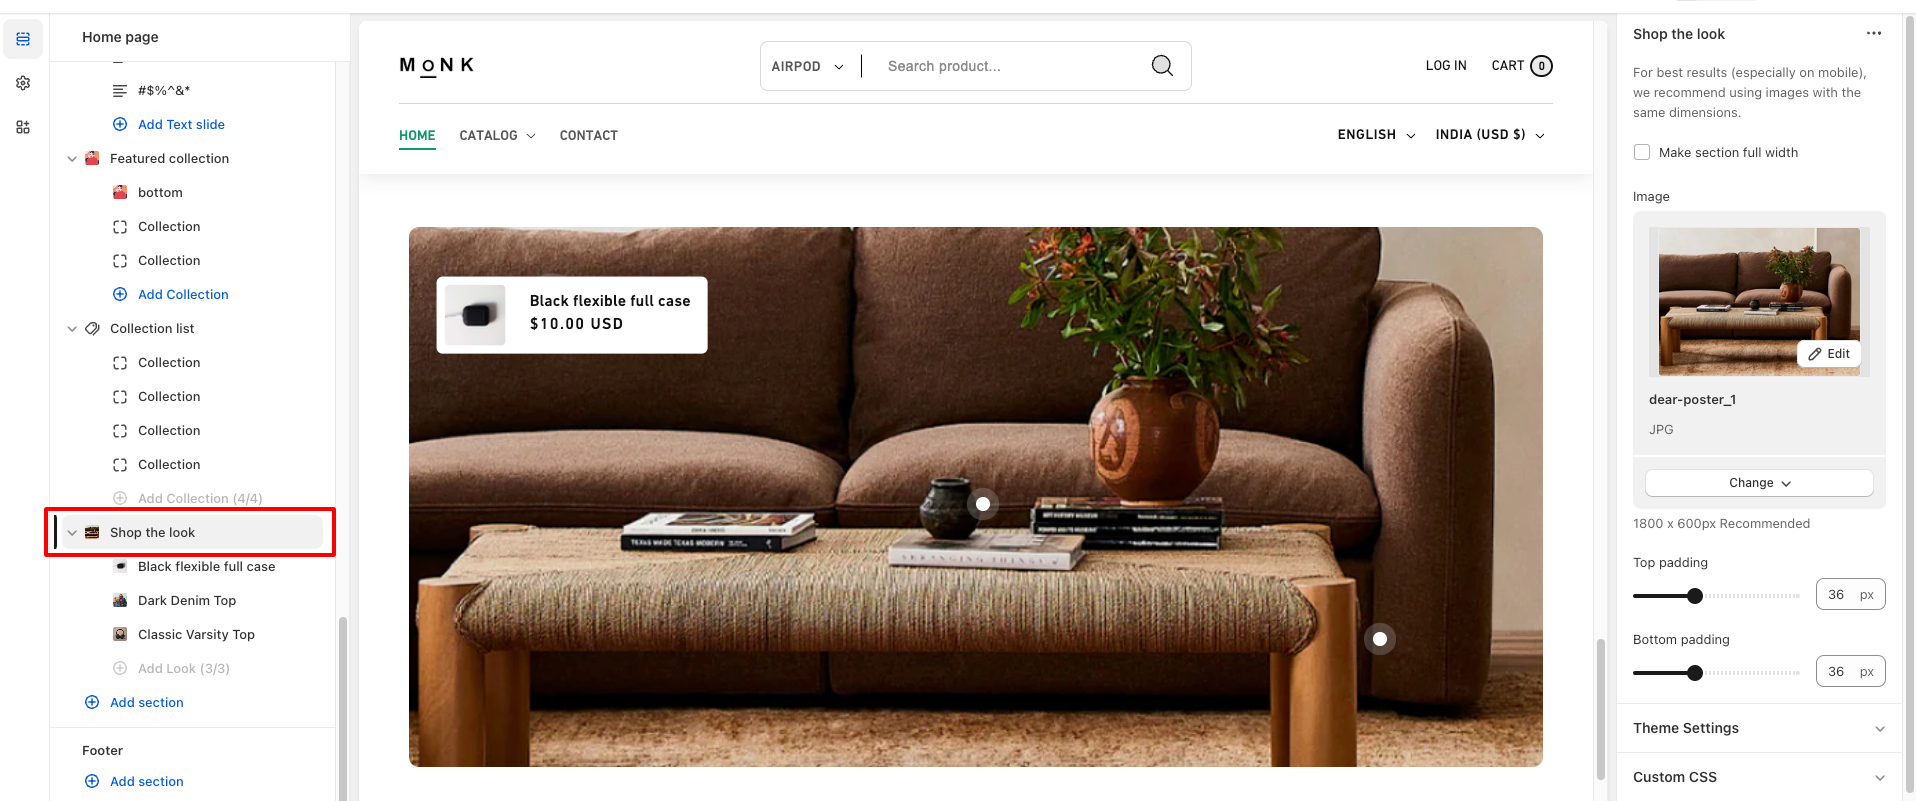
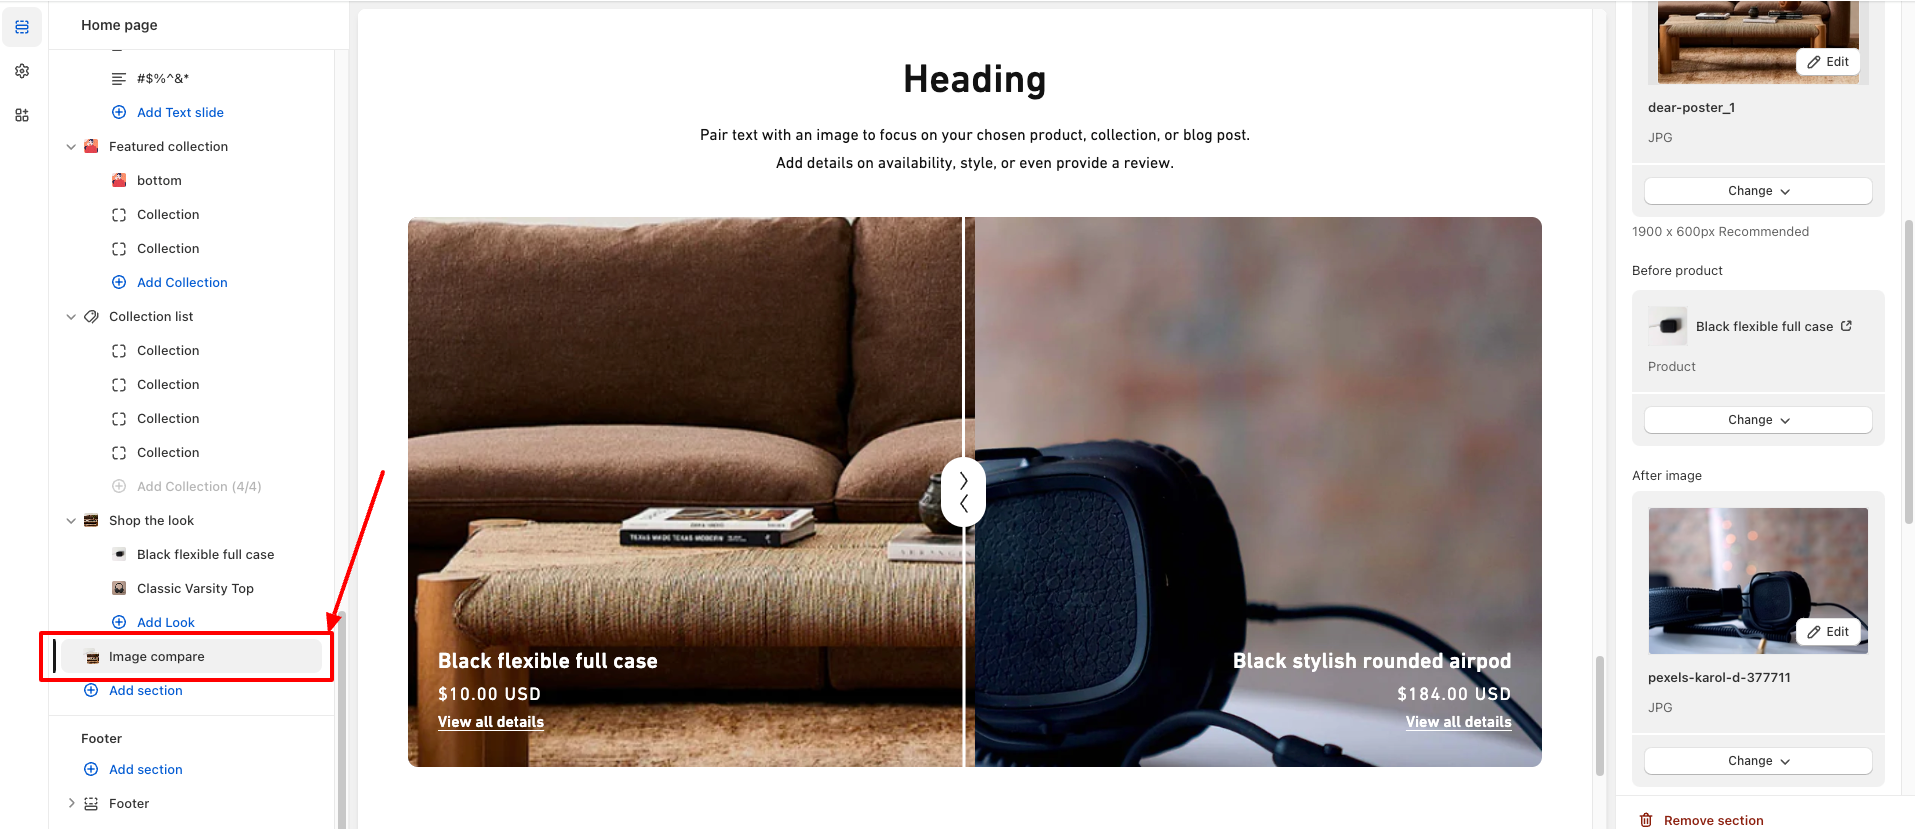
Click on the "Shop the look" section or add section by clicking on the "Add section" located below of all the listed sections at left sidebar
You will see all the settings regarding the section from where you can add shop the look image and other settings
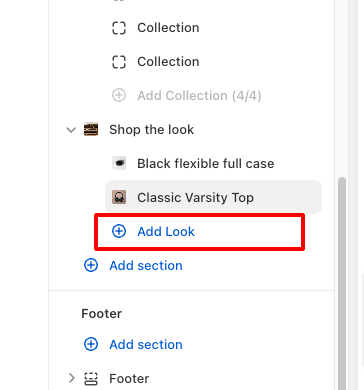
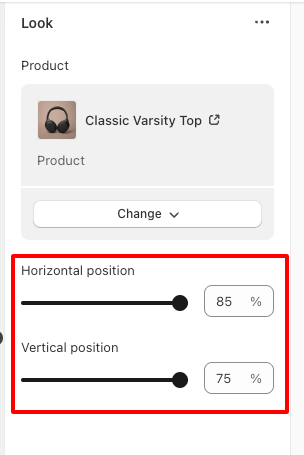
Click on the "Add Look" option to add new product on the section
Set mark position of your product by drag horizontal and vertical position on the image.
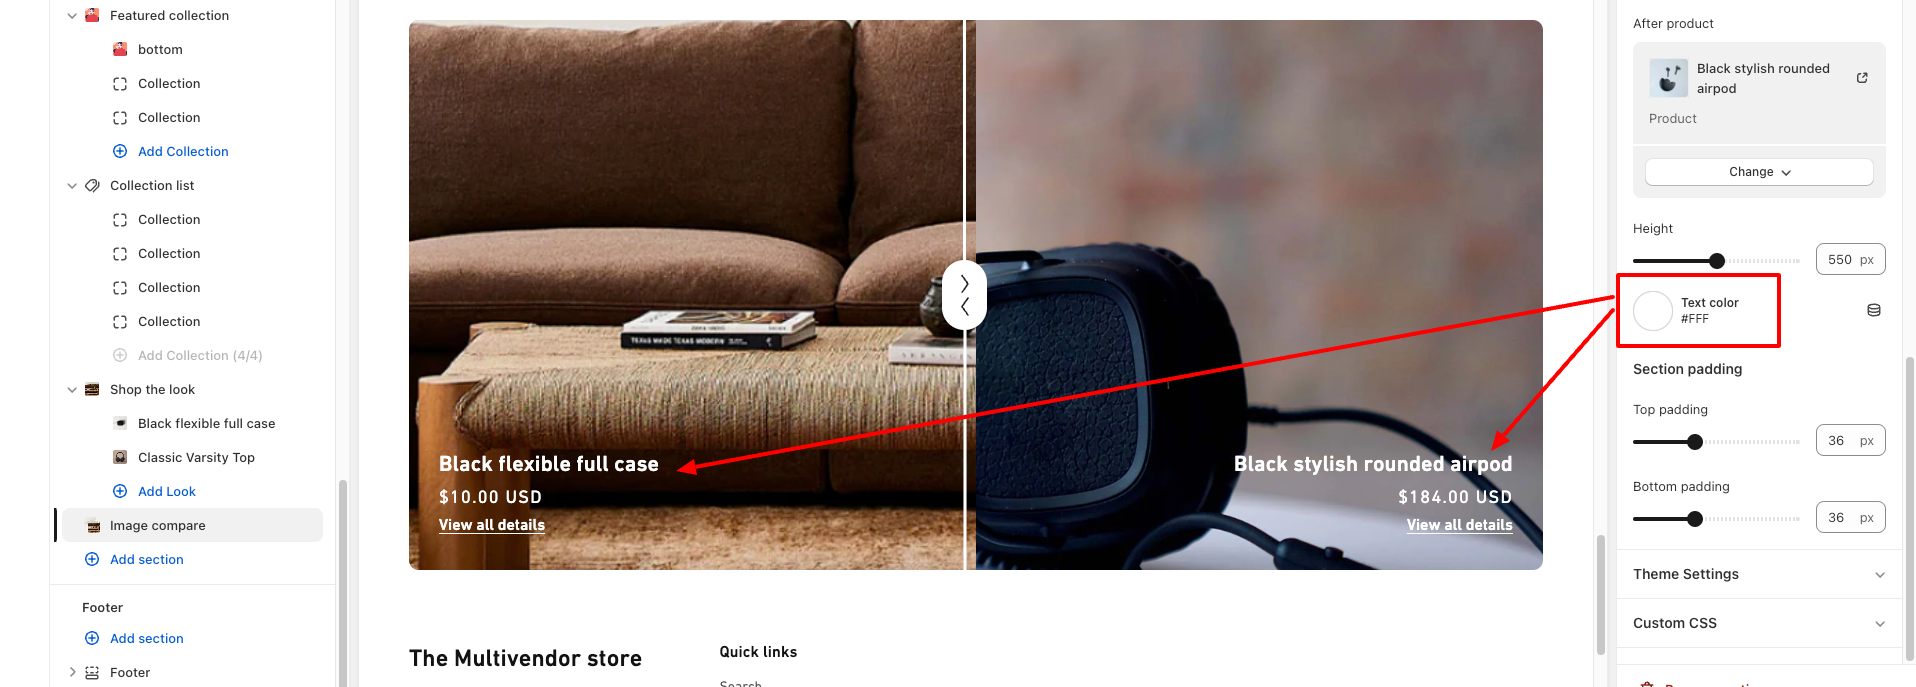
Open theme settings by clicking "Customize" button on the theme list
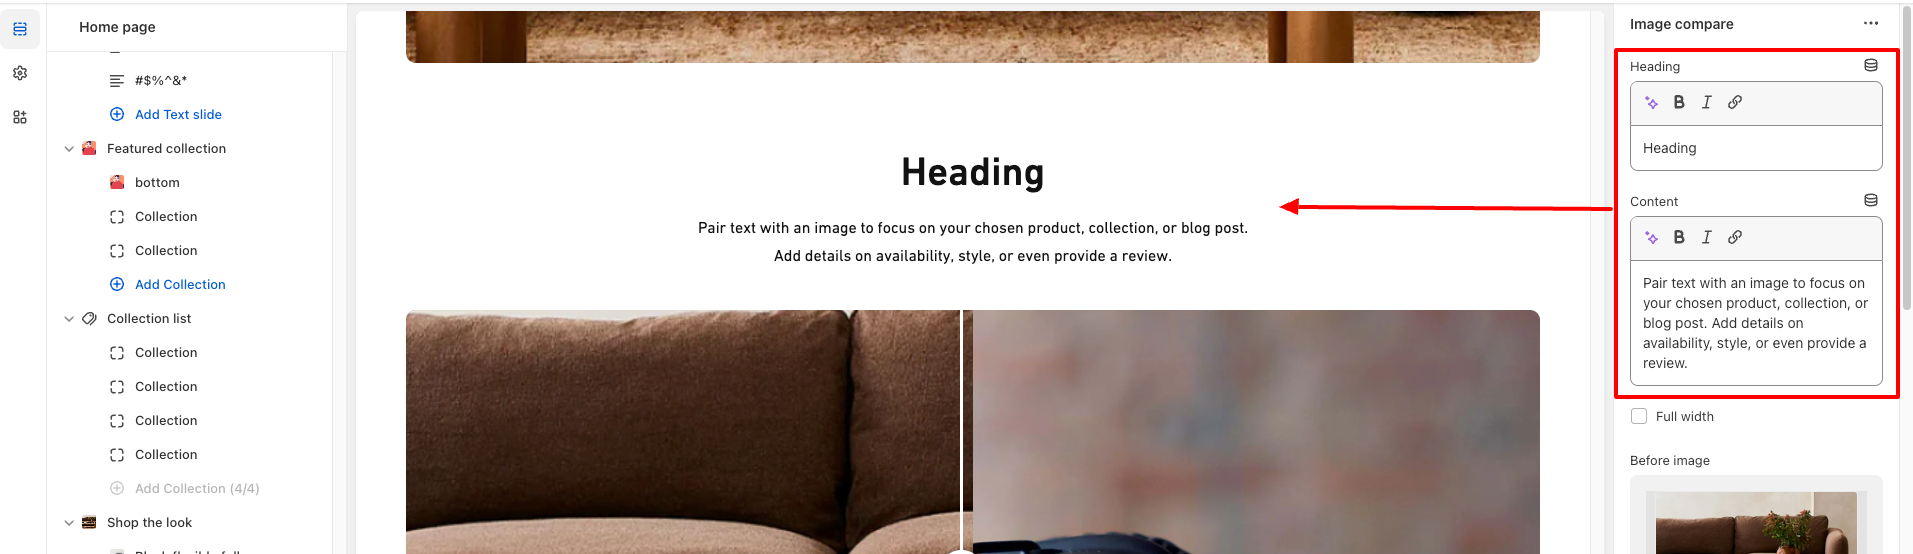
Click or add section named with "Image compare" from the left sidebar
There is options for the add heading and content of the section.
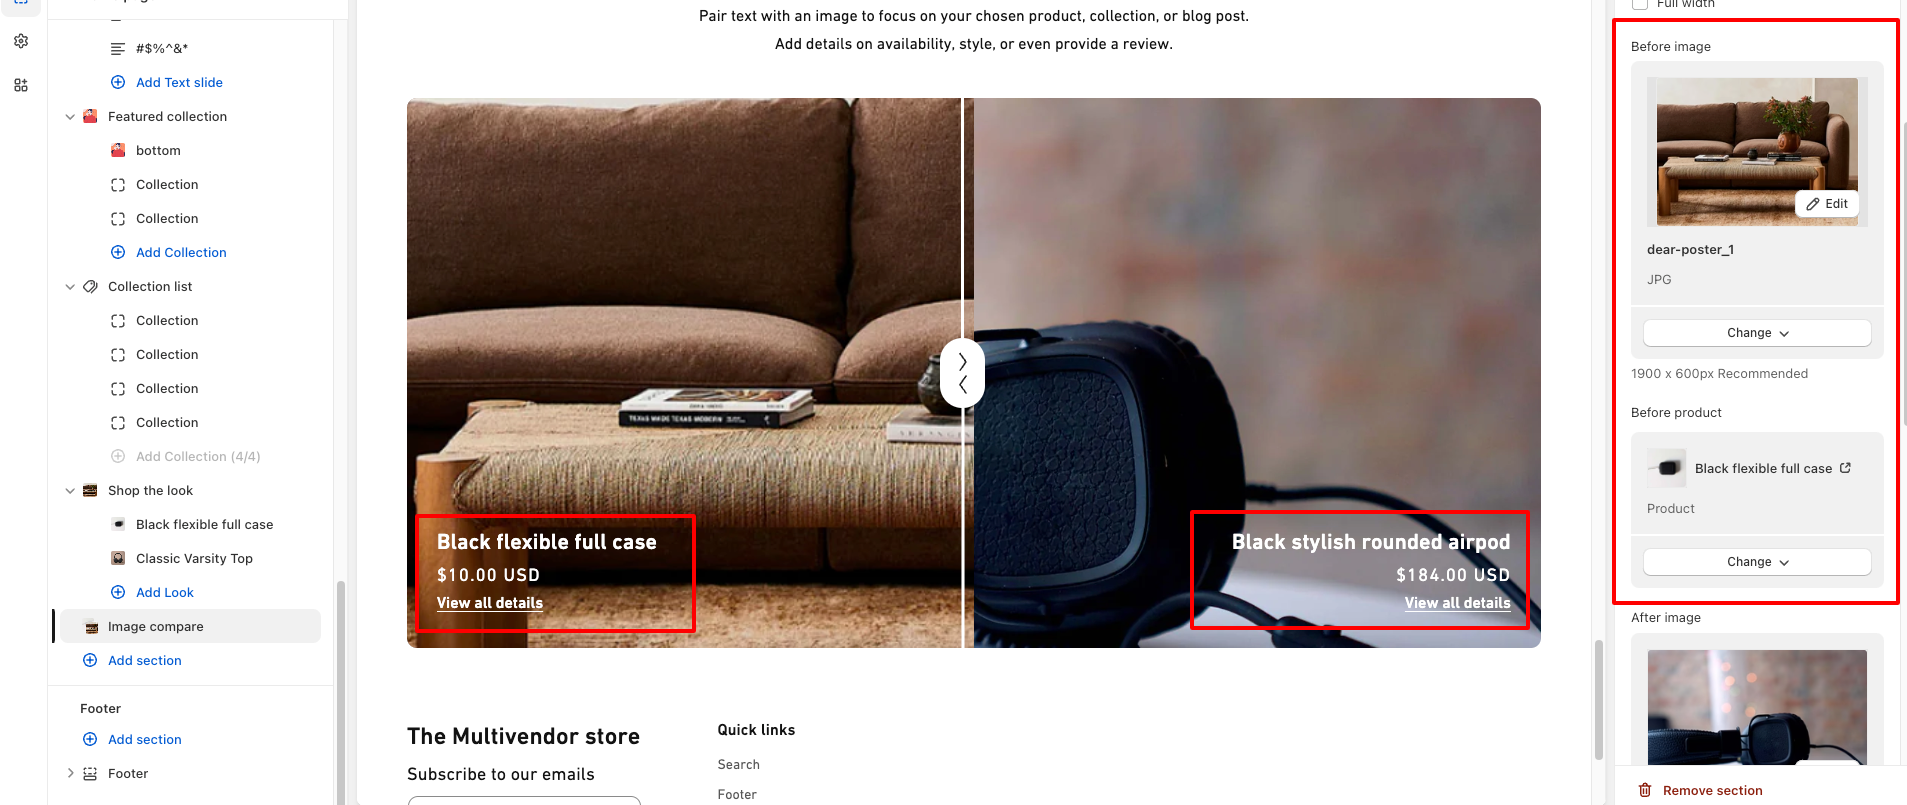
You can add before and after comapre image and related product that you want to show as well.
Adding product may increase conversion rate of your store.
Change color of the text on the image according to background or image
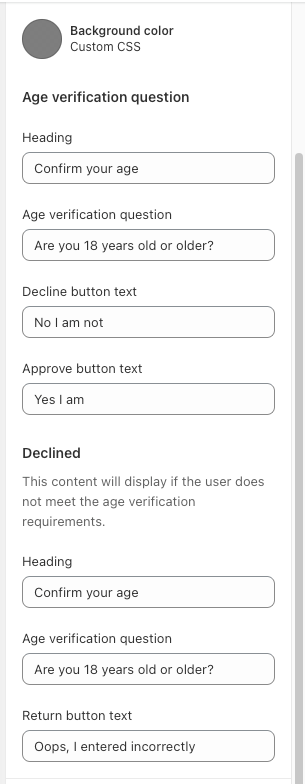
Open theme settings by clicking "Customize" button on the theme list
Click or add section named with "Age verification popup" from the left sidebar
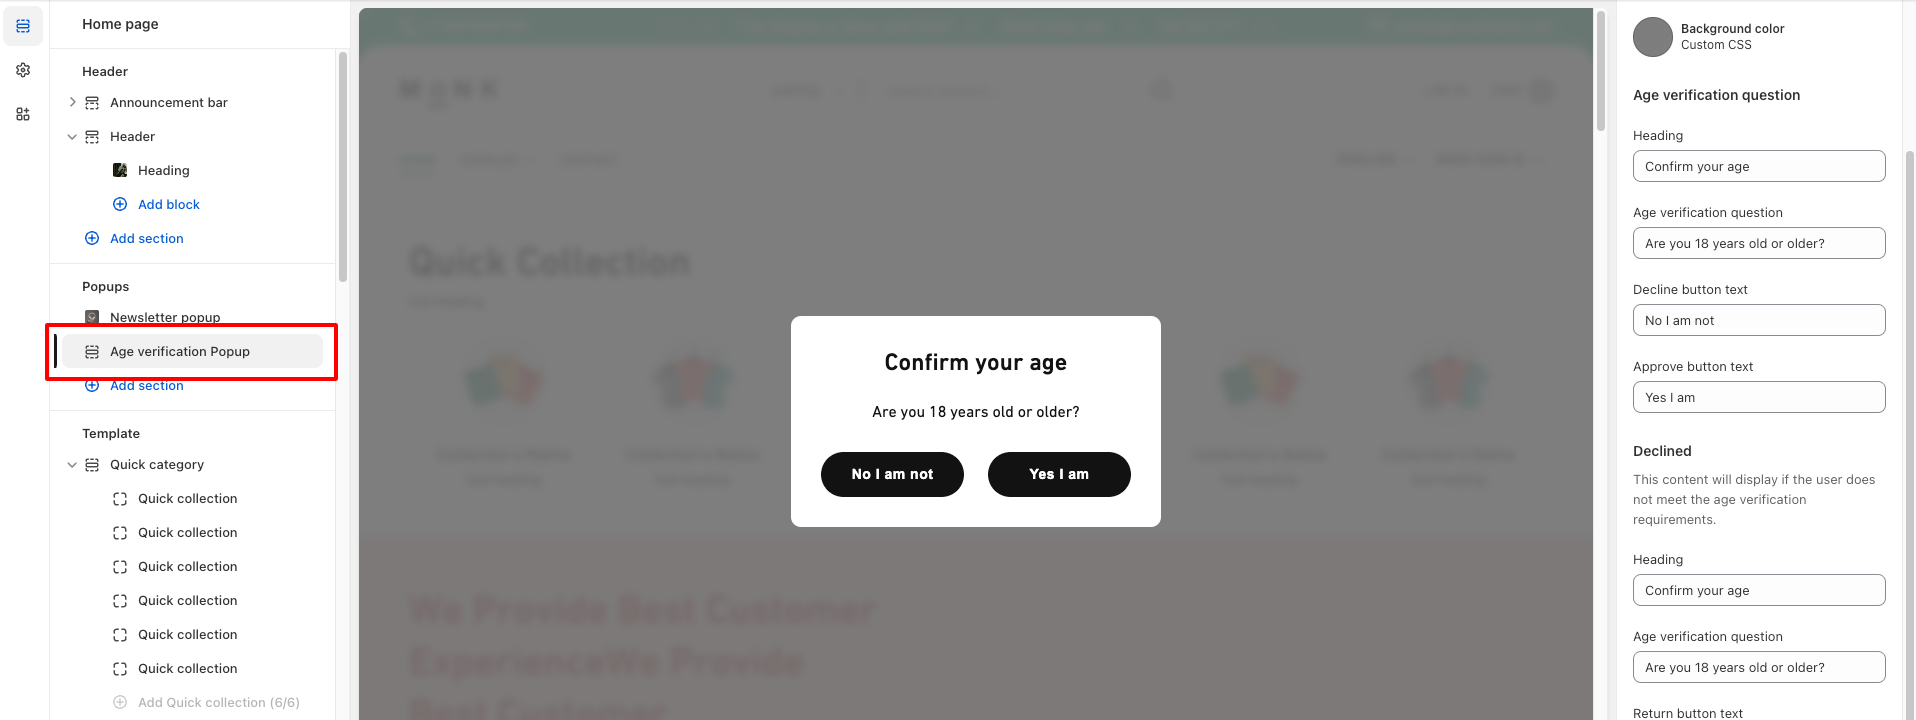
Set background, age verification question and declined message according to your need.
You can enable test mode as well if you want to test before launch your store

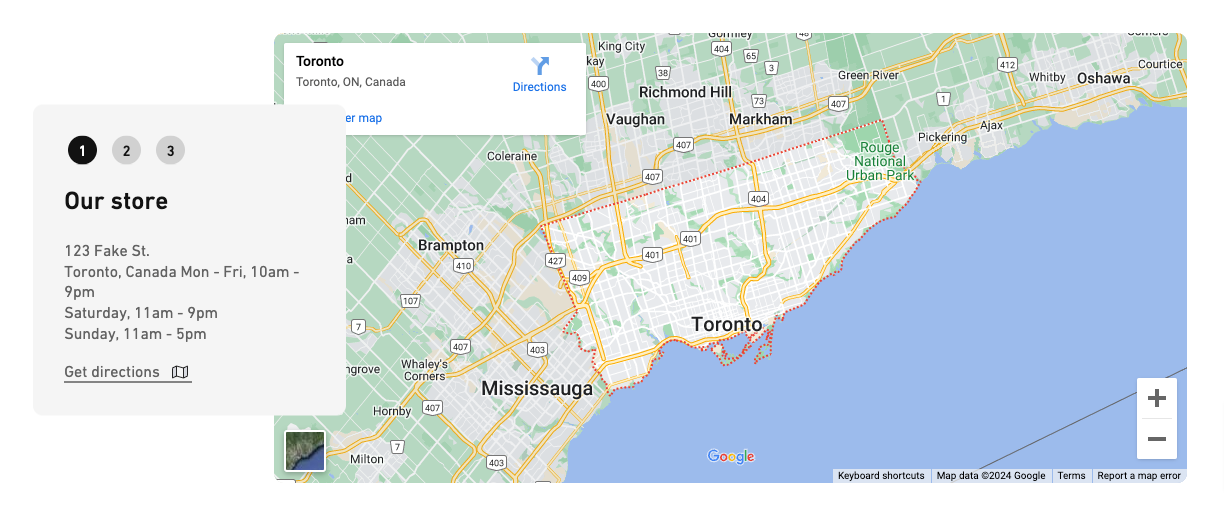
Open theme settings by clicking "Customize" button on the theme list
Click or add section named with "Map" from the left sidebar

Click on that section so you will see all the related settings
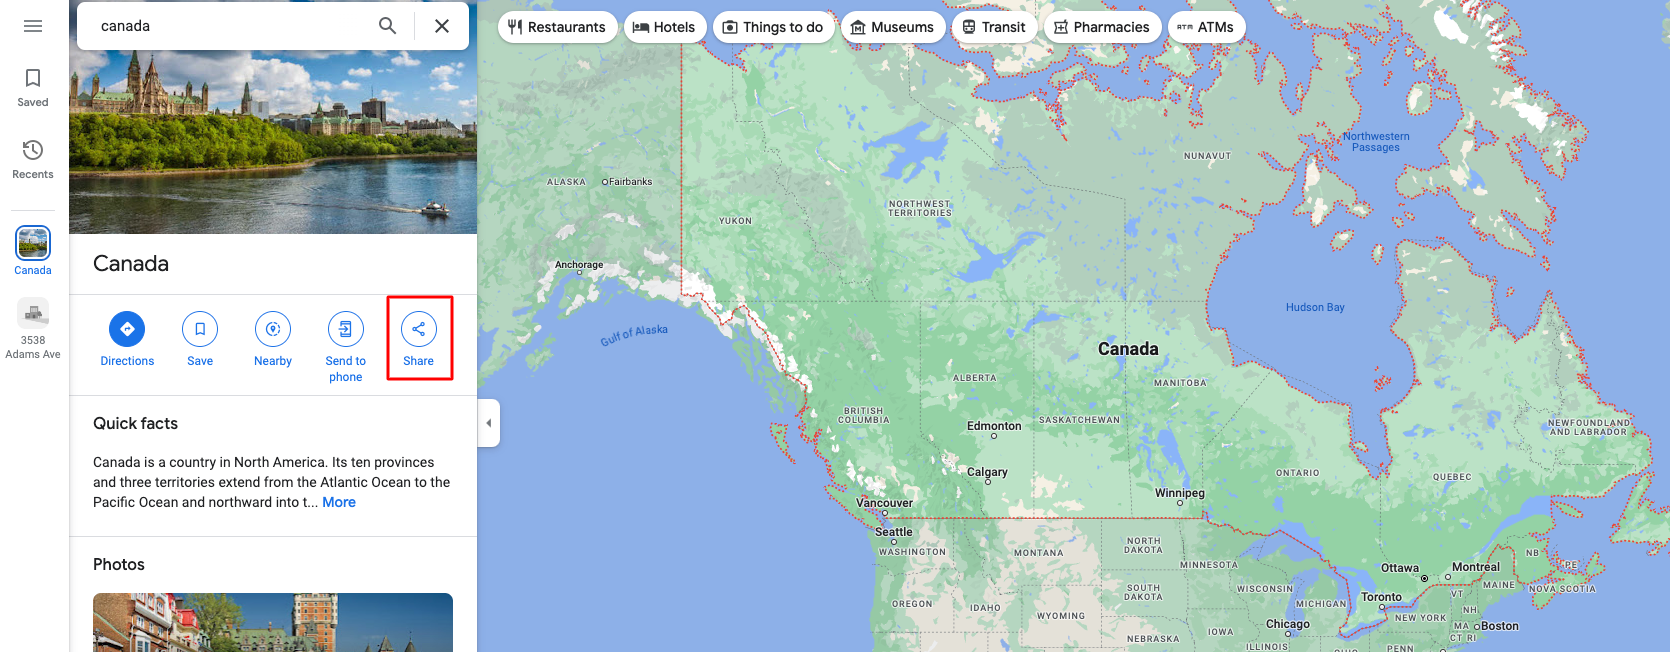
After that go to Google maps
Enter address in the search that you want to add in site and click on search icon or press enter

Once you get your location, click on the share button
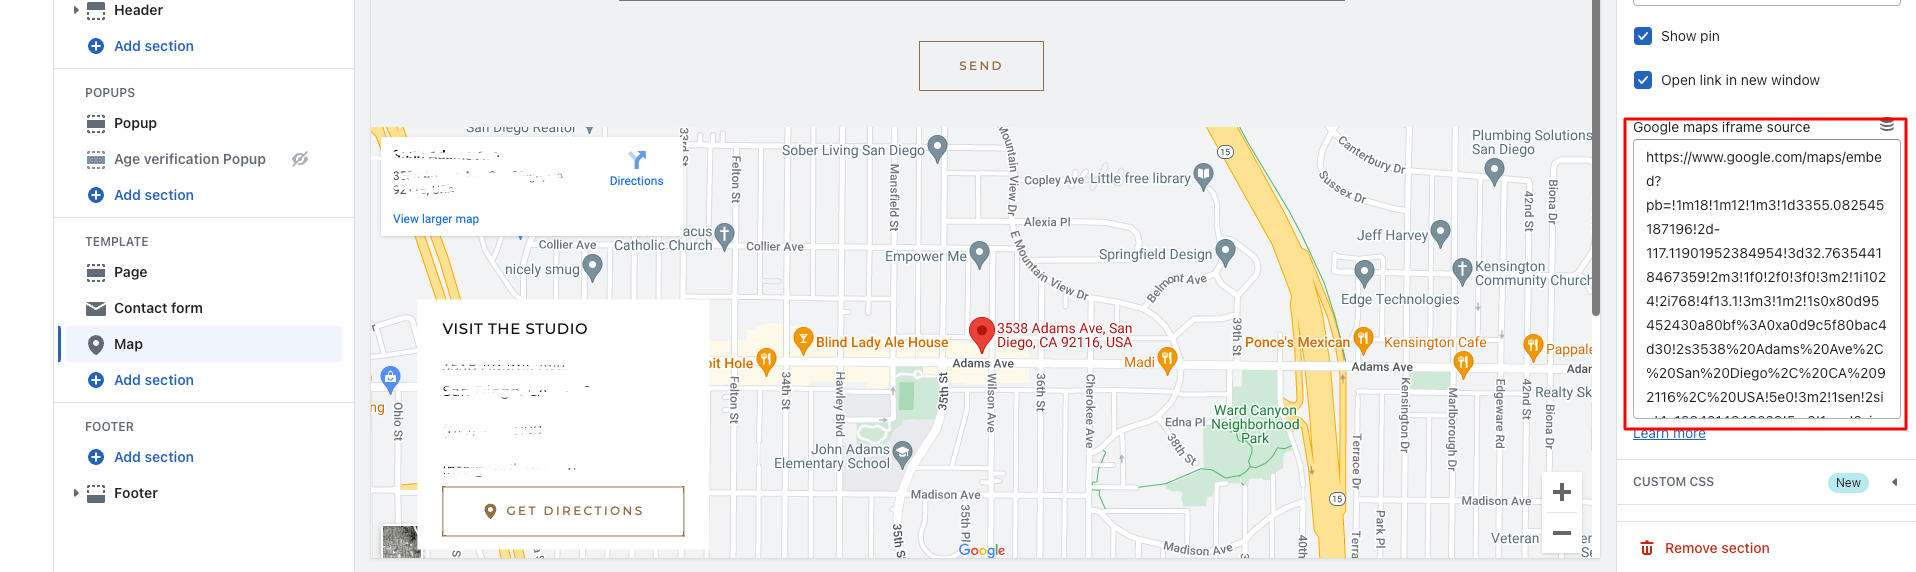
When open popup, click on "Embed a map" tab and copy the embed HTML from the right button

Now, paste that code to any text editor so you can get map code
Copy src code from your iframe

Paste that copied code to the map iframe section
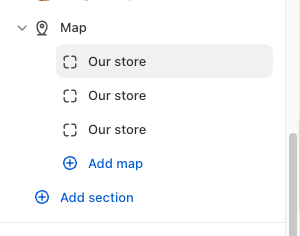
You can add multiple store addresses if you have by click on  button
Open theme settings by clicking "Customize" button on the theme list
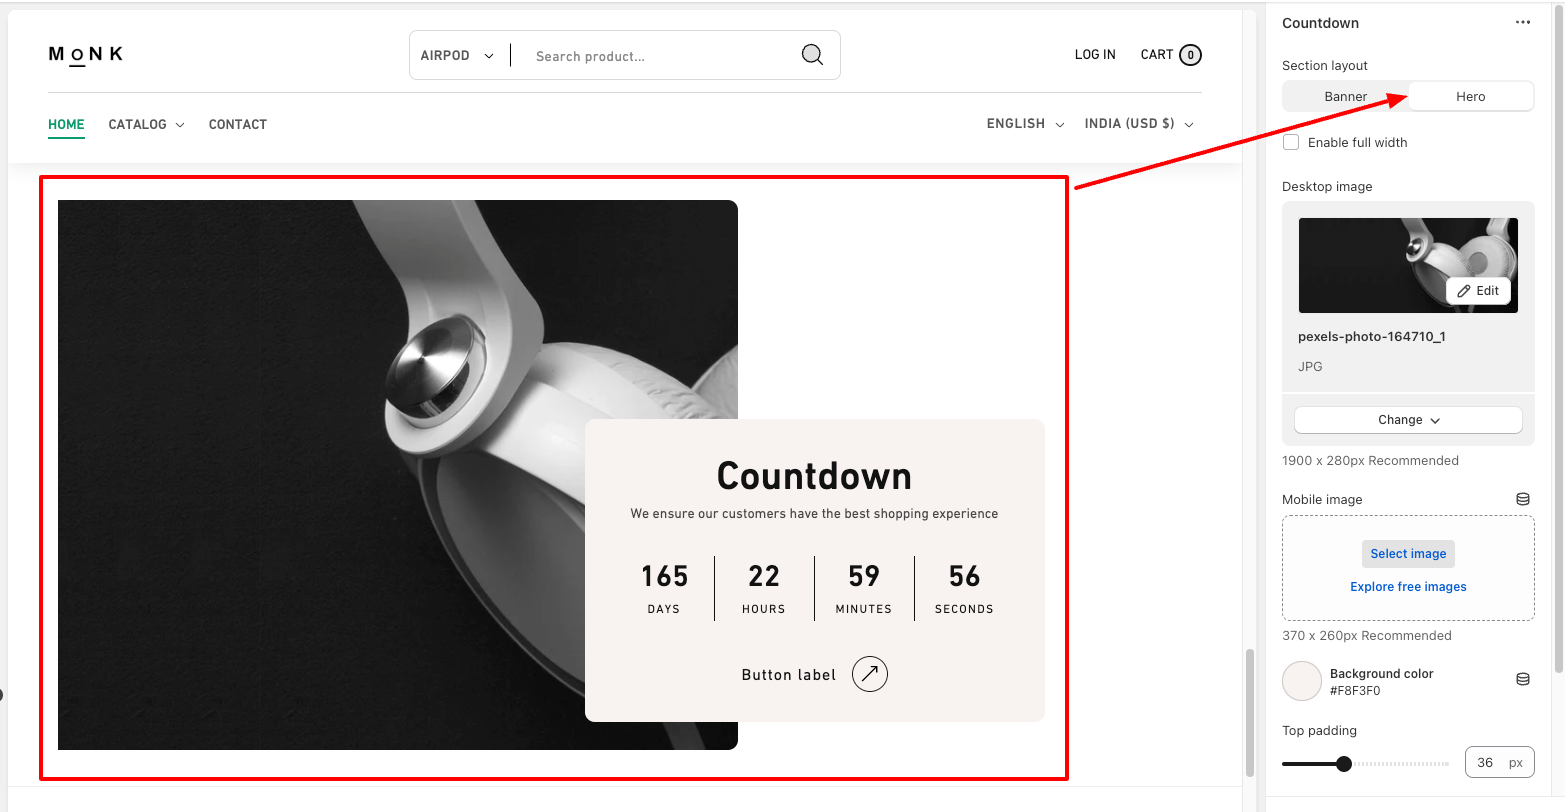
Click or add section named with "Countdown" from the left sidebar

Click on that section so you will see all the related settings like add background image, background color and you can set section to full width as well.
➼ Inline countdown
Select "Banner" option for the set inline or stipe style layout of the countdown.
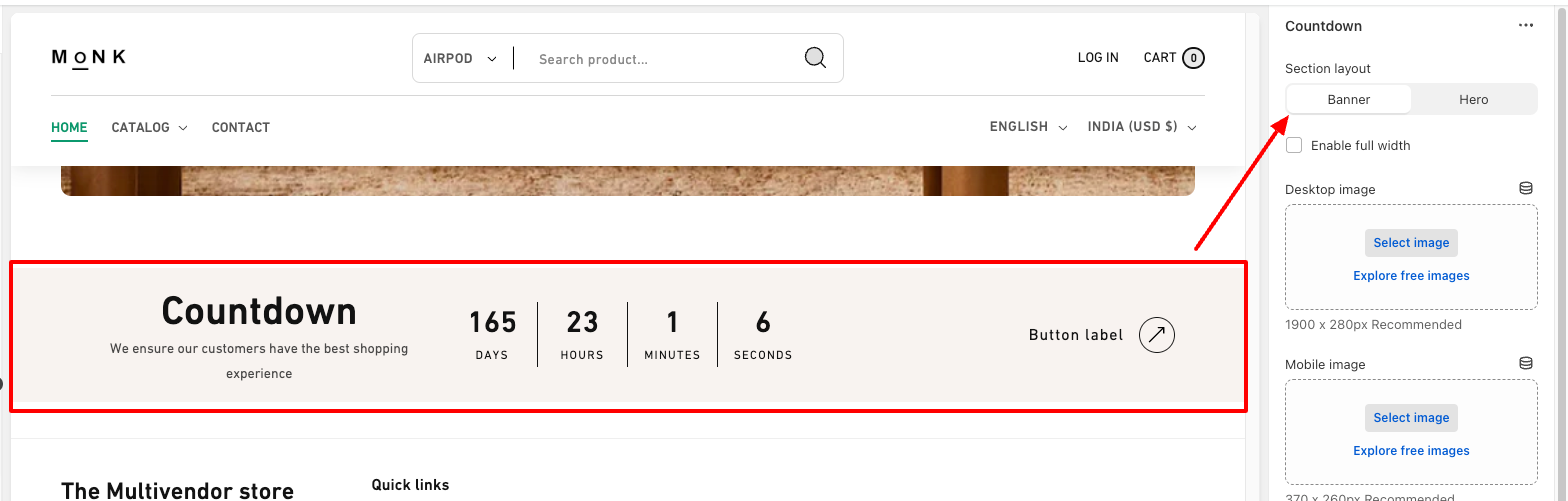
➼ Hero banner countdown
Select "Hero" option for the set countdown with hero banner image.

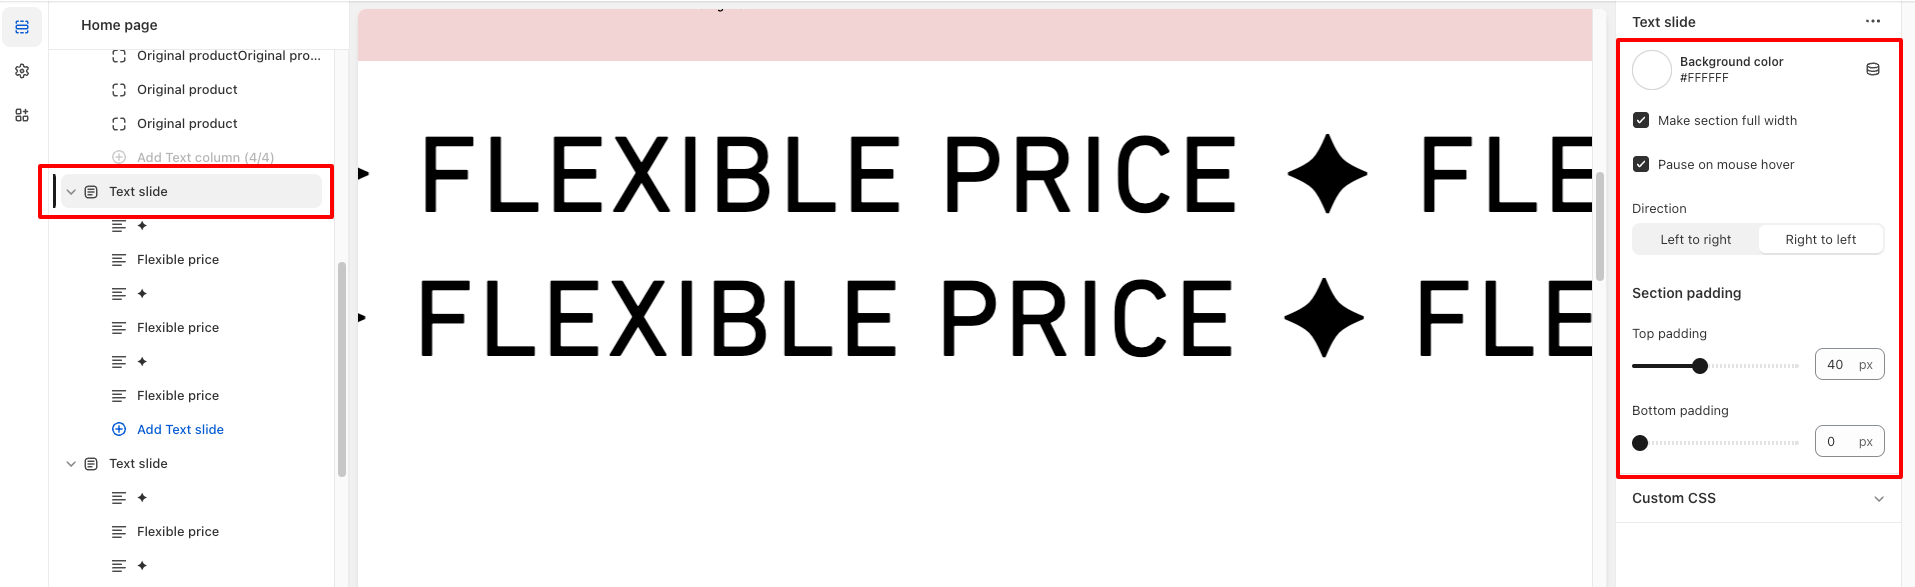
Open theme settings by clicking "Customize" button on the theme list
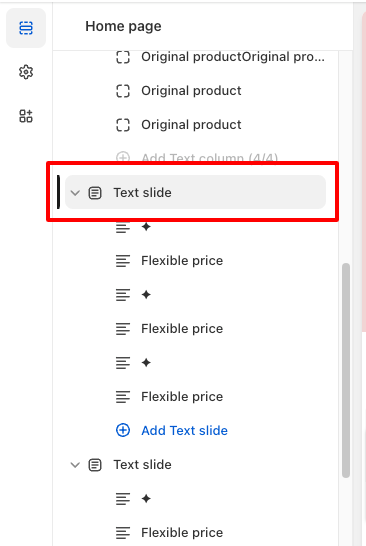
Click or add section named with "Text slide" from the left sidebar
Click on that section so you will see all the related settings like add background color, direction of the slide and you can set section to full width as well.
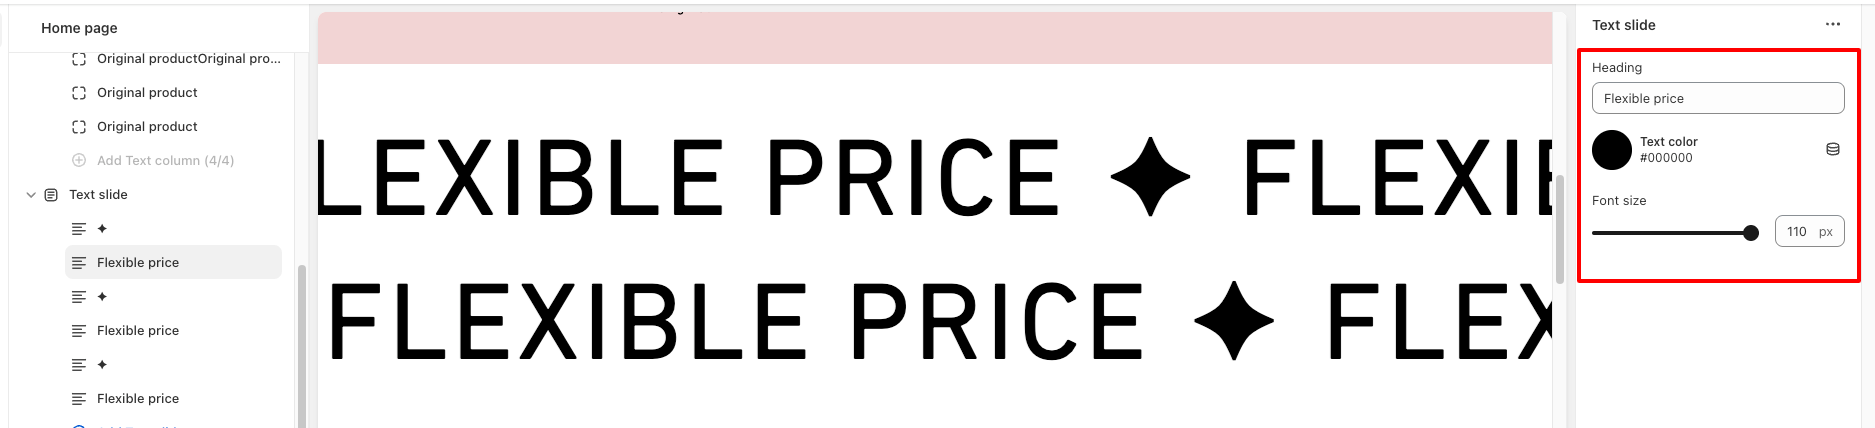
You can change text color, font size from the particular text block
Open theme settings by clicking "Customize" button on the theme list
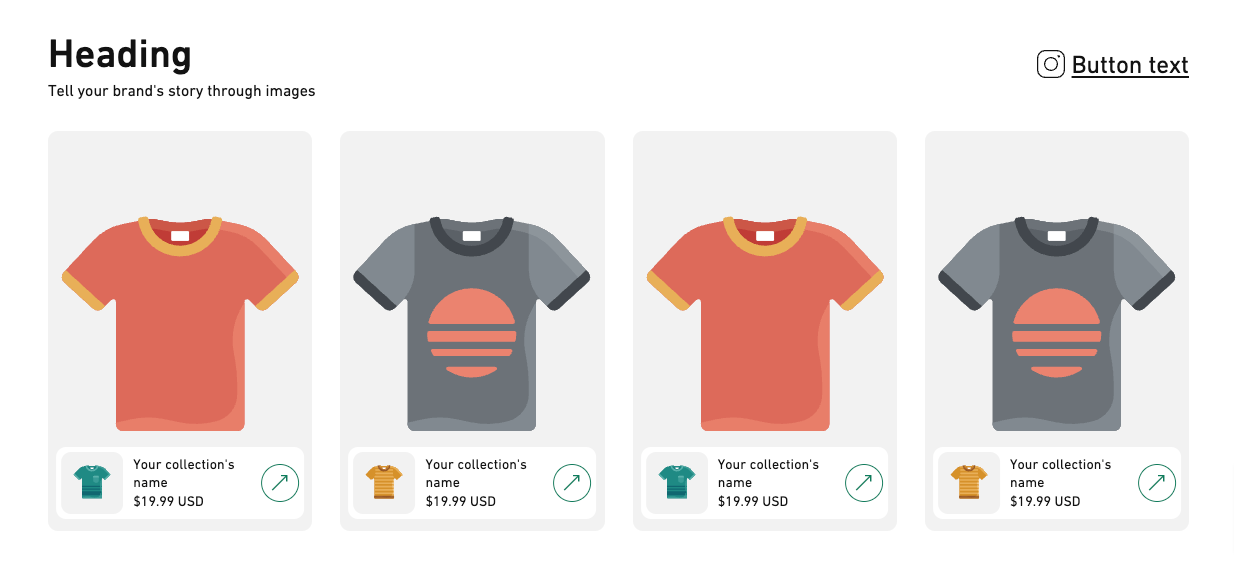
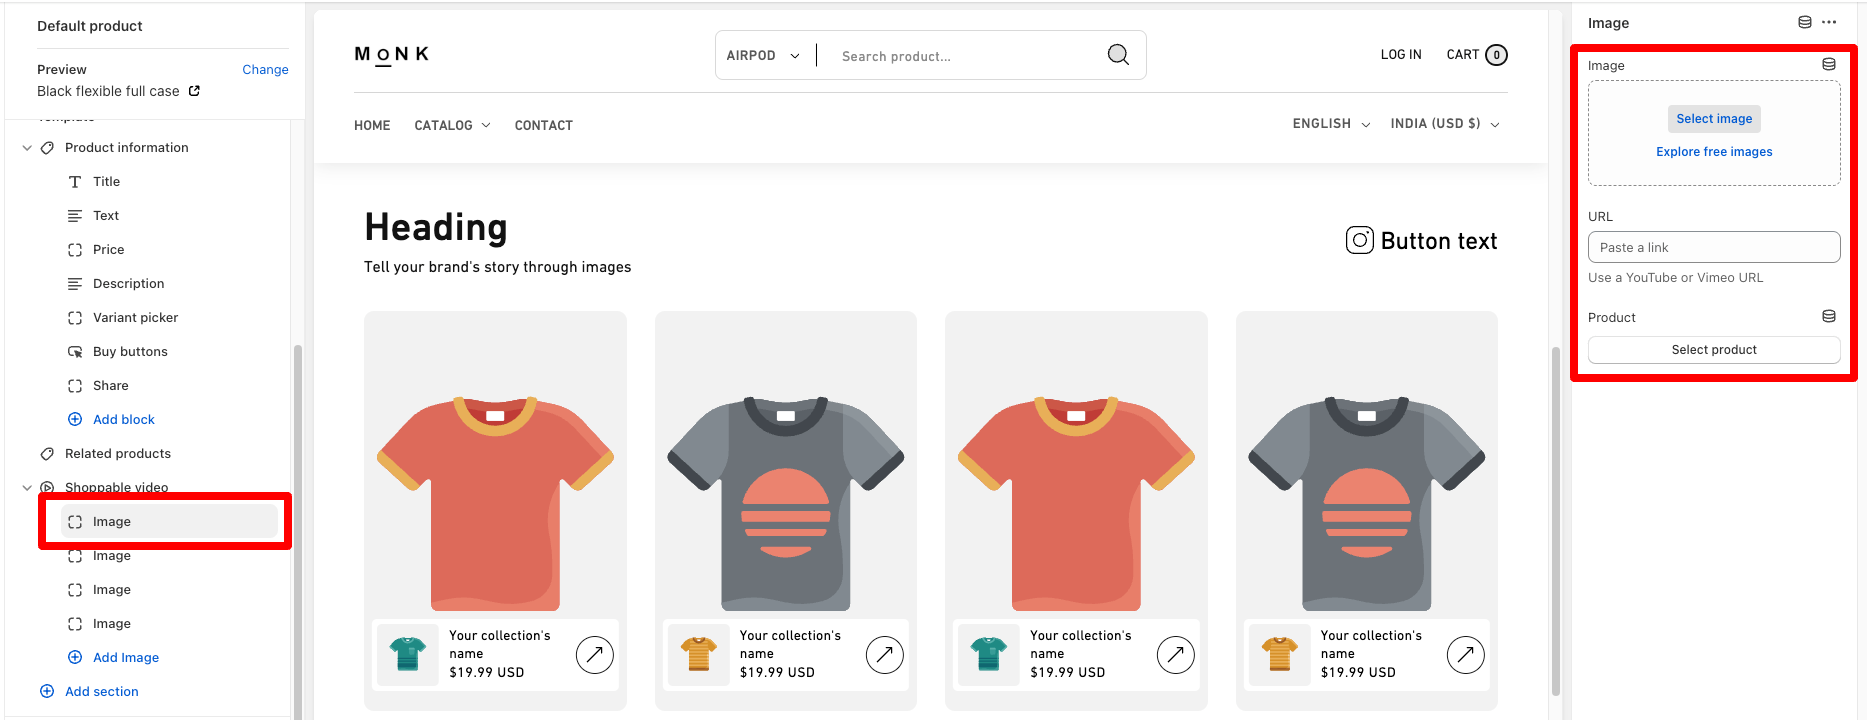
Click or add section named with "Shoppable video" from the left sidebar
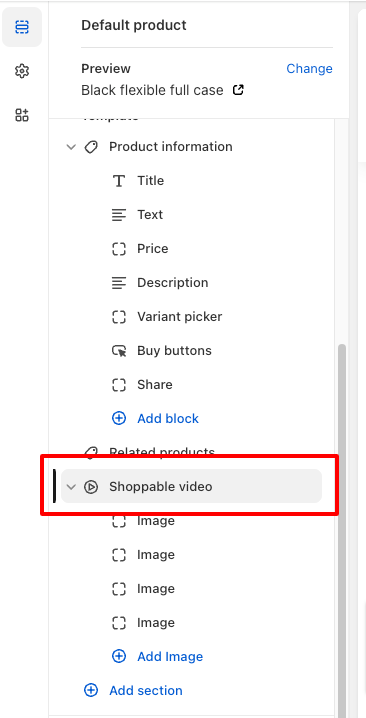
Click on that section so you will see all the related settings like add heading, subheading and button link / social link.
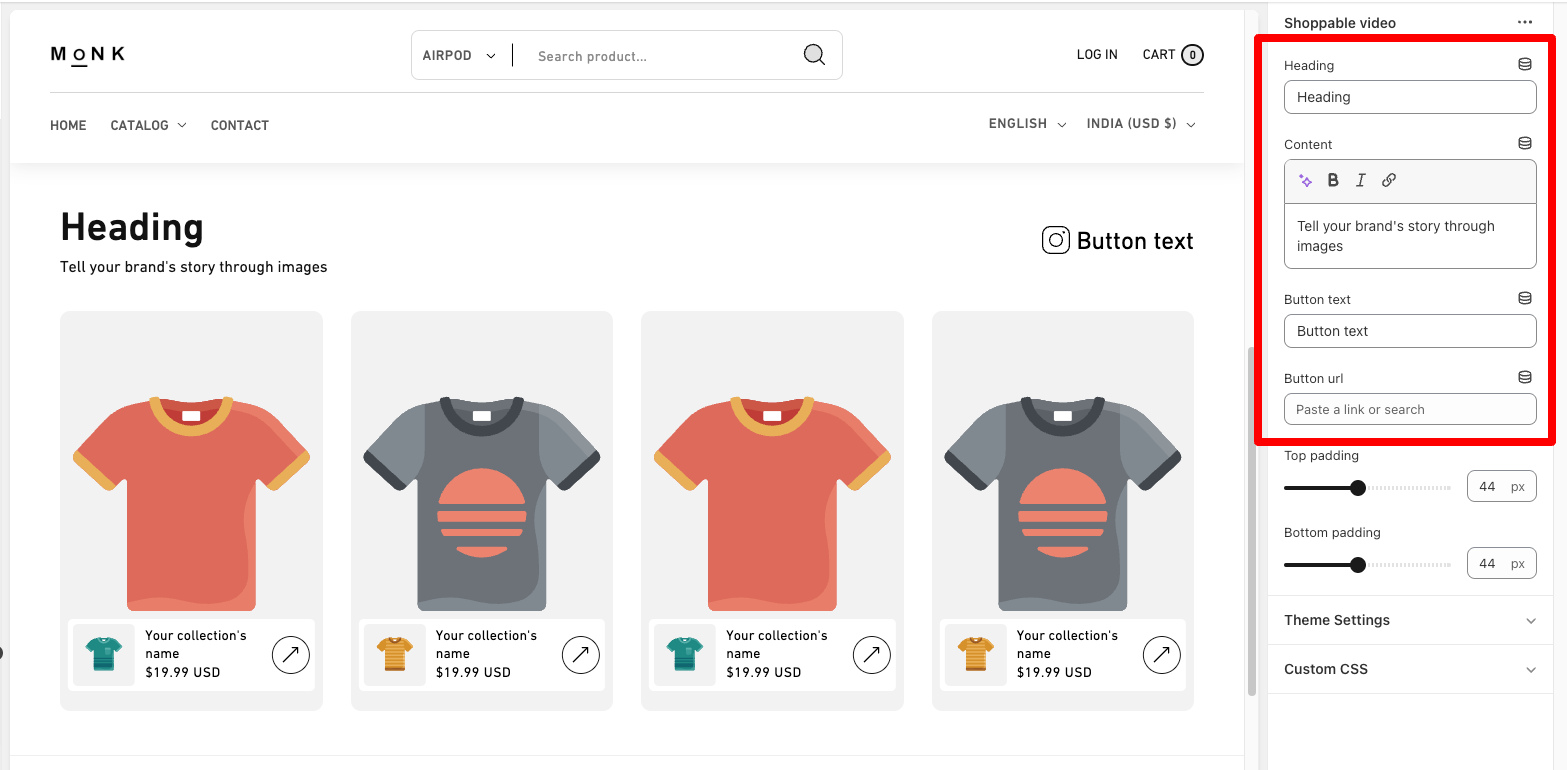
Add block how many you want to add
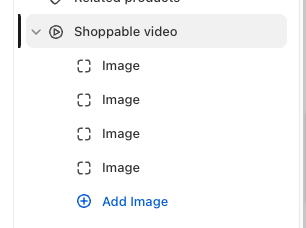
Add image or video and select product
Global settings
Open theme settings by clicking "Customize" button on the theme list
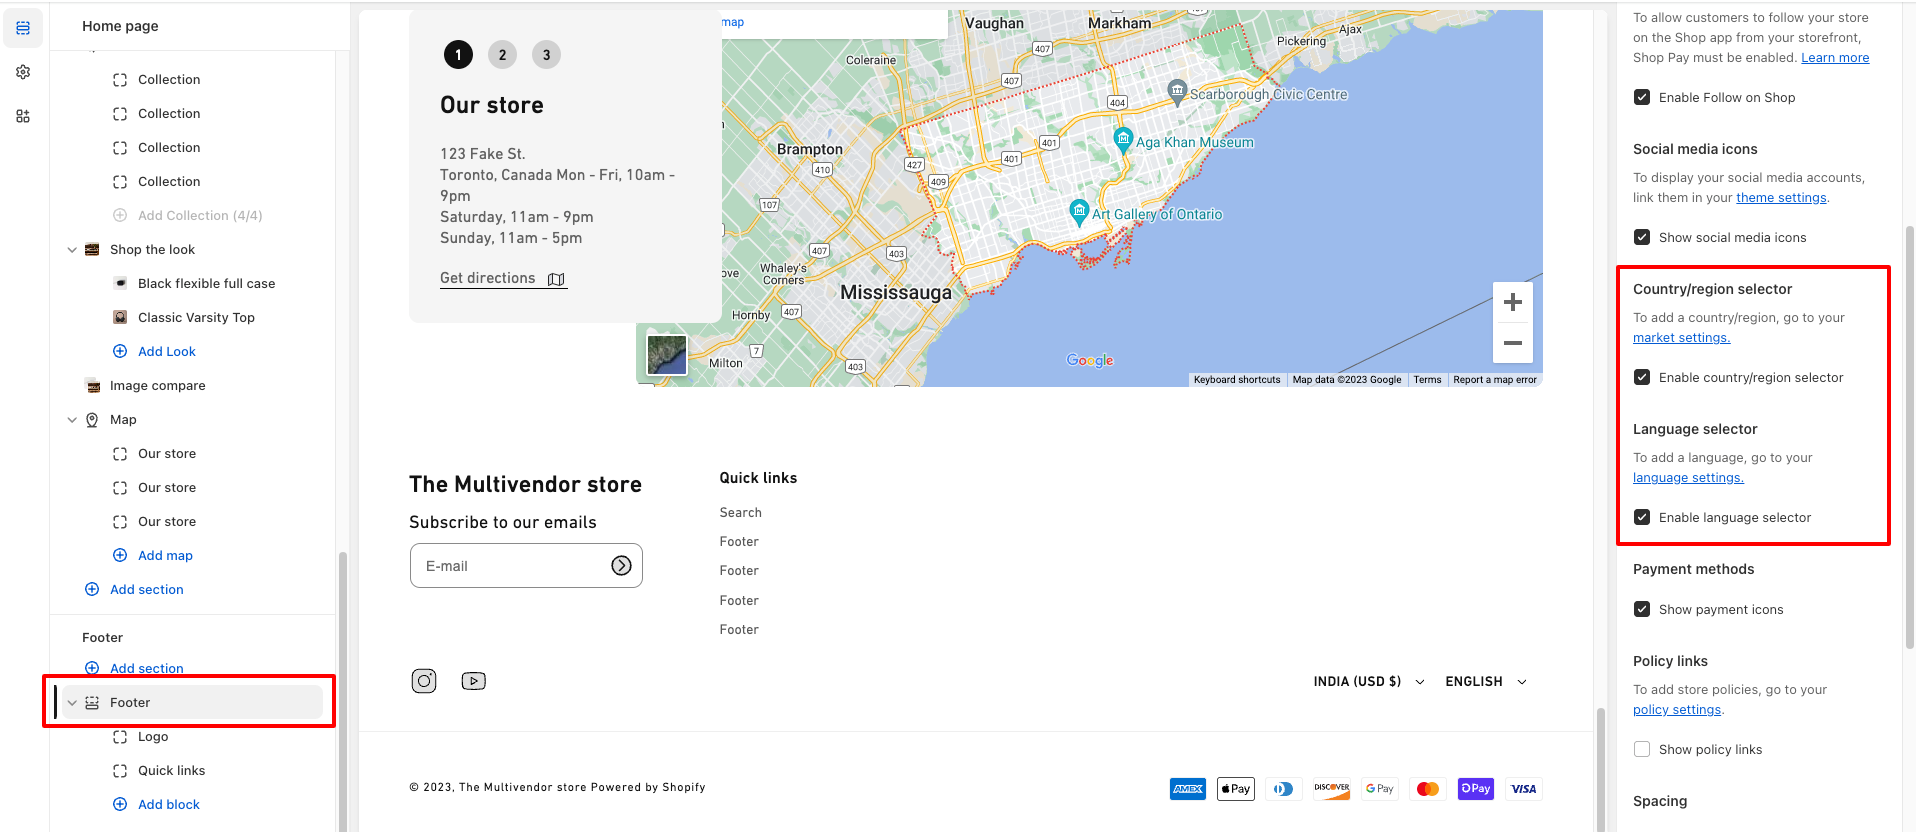
Click on the "Footer" section
You can see the settings for the language and country selection
Open theme settings by clicking "Customize" button on the theme list
Click on the "global settings" from the left icons
You can find "Typography" in the global settings
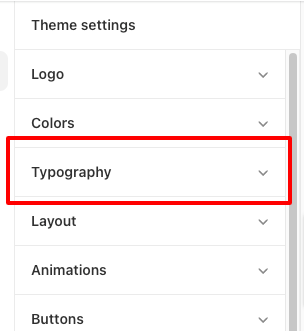
You can set typography for the heading, subheading and body text. You can set font size as well.

Open theme settings by clicking "Customize" button on the theme list
Click on the "global settings" from the left icons
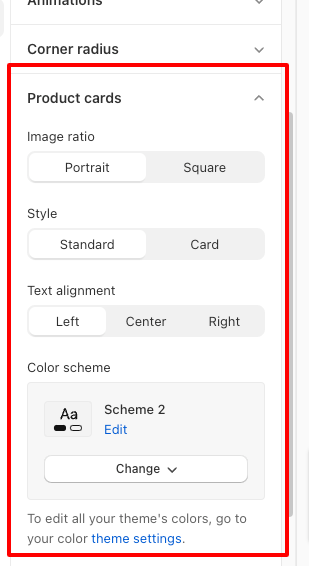
There is option "Product Cards" where you can see all settings related product card.
Open theme settings by clicking "Customize" button on the theme list
Click on the "global settings" from the left icons
There is option "Product Cards" where you can see all settings related product card.
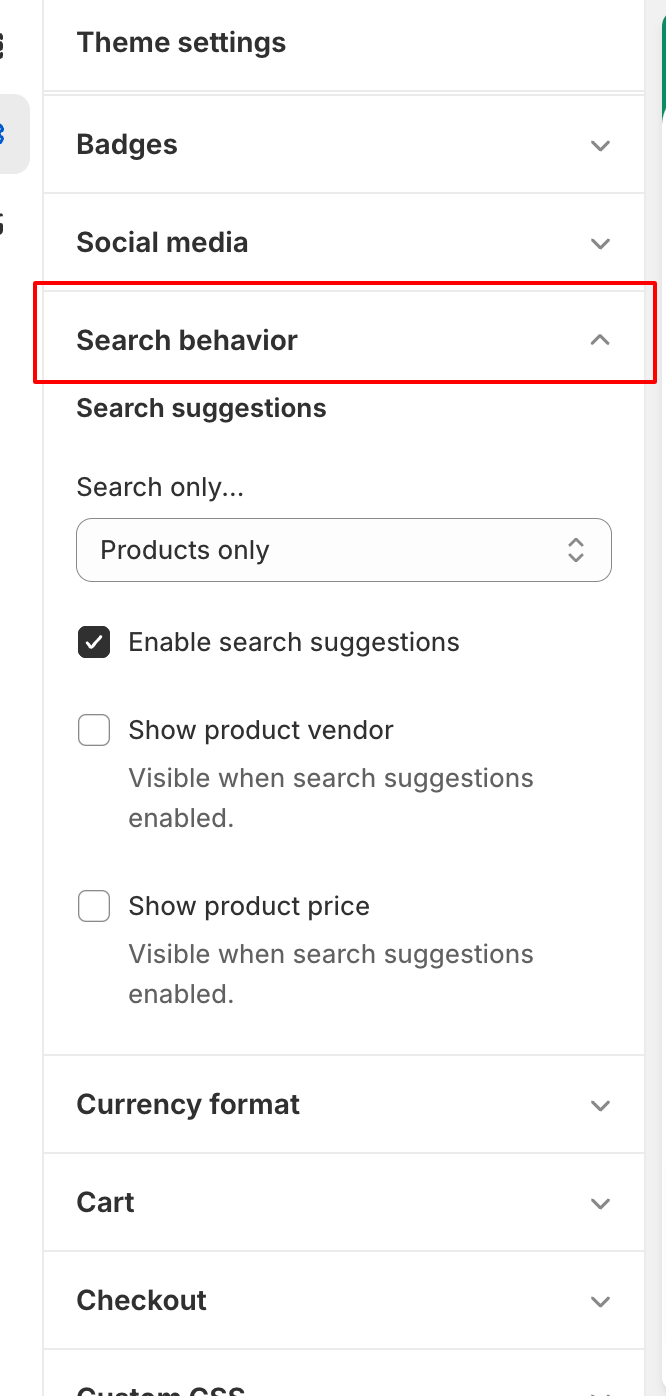
You can show Product vendor and Product price on the product grid as well using check options "Show product vendor" and "Show product price".
Open theme settings by clicking "Customize" button on the theme list
Select "Collection" from the top dropdown navigation
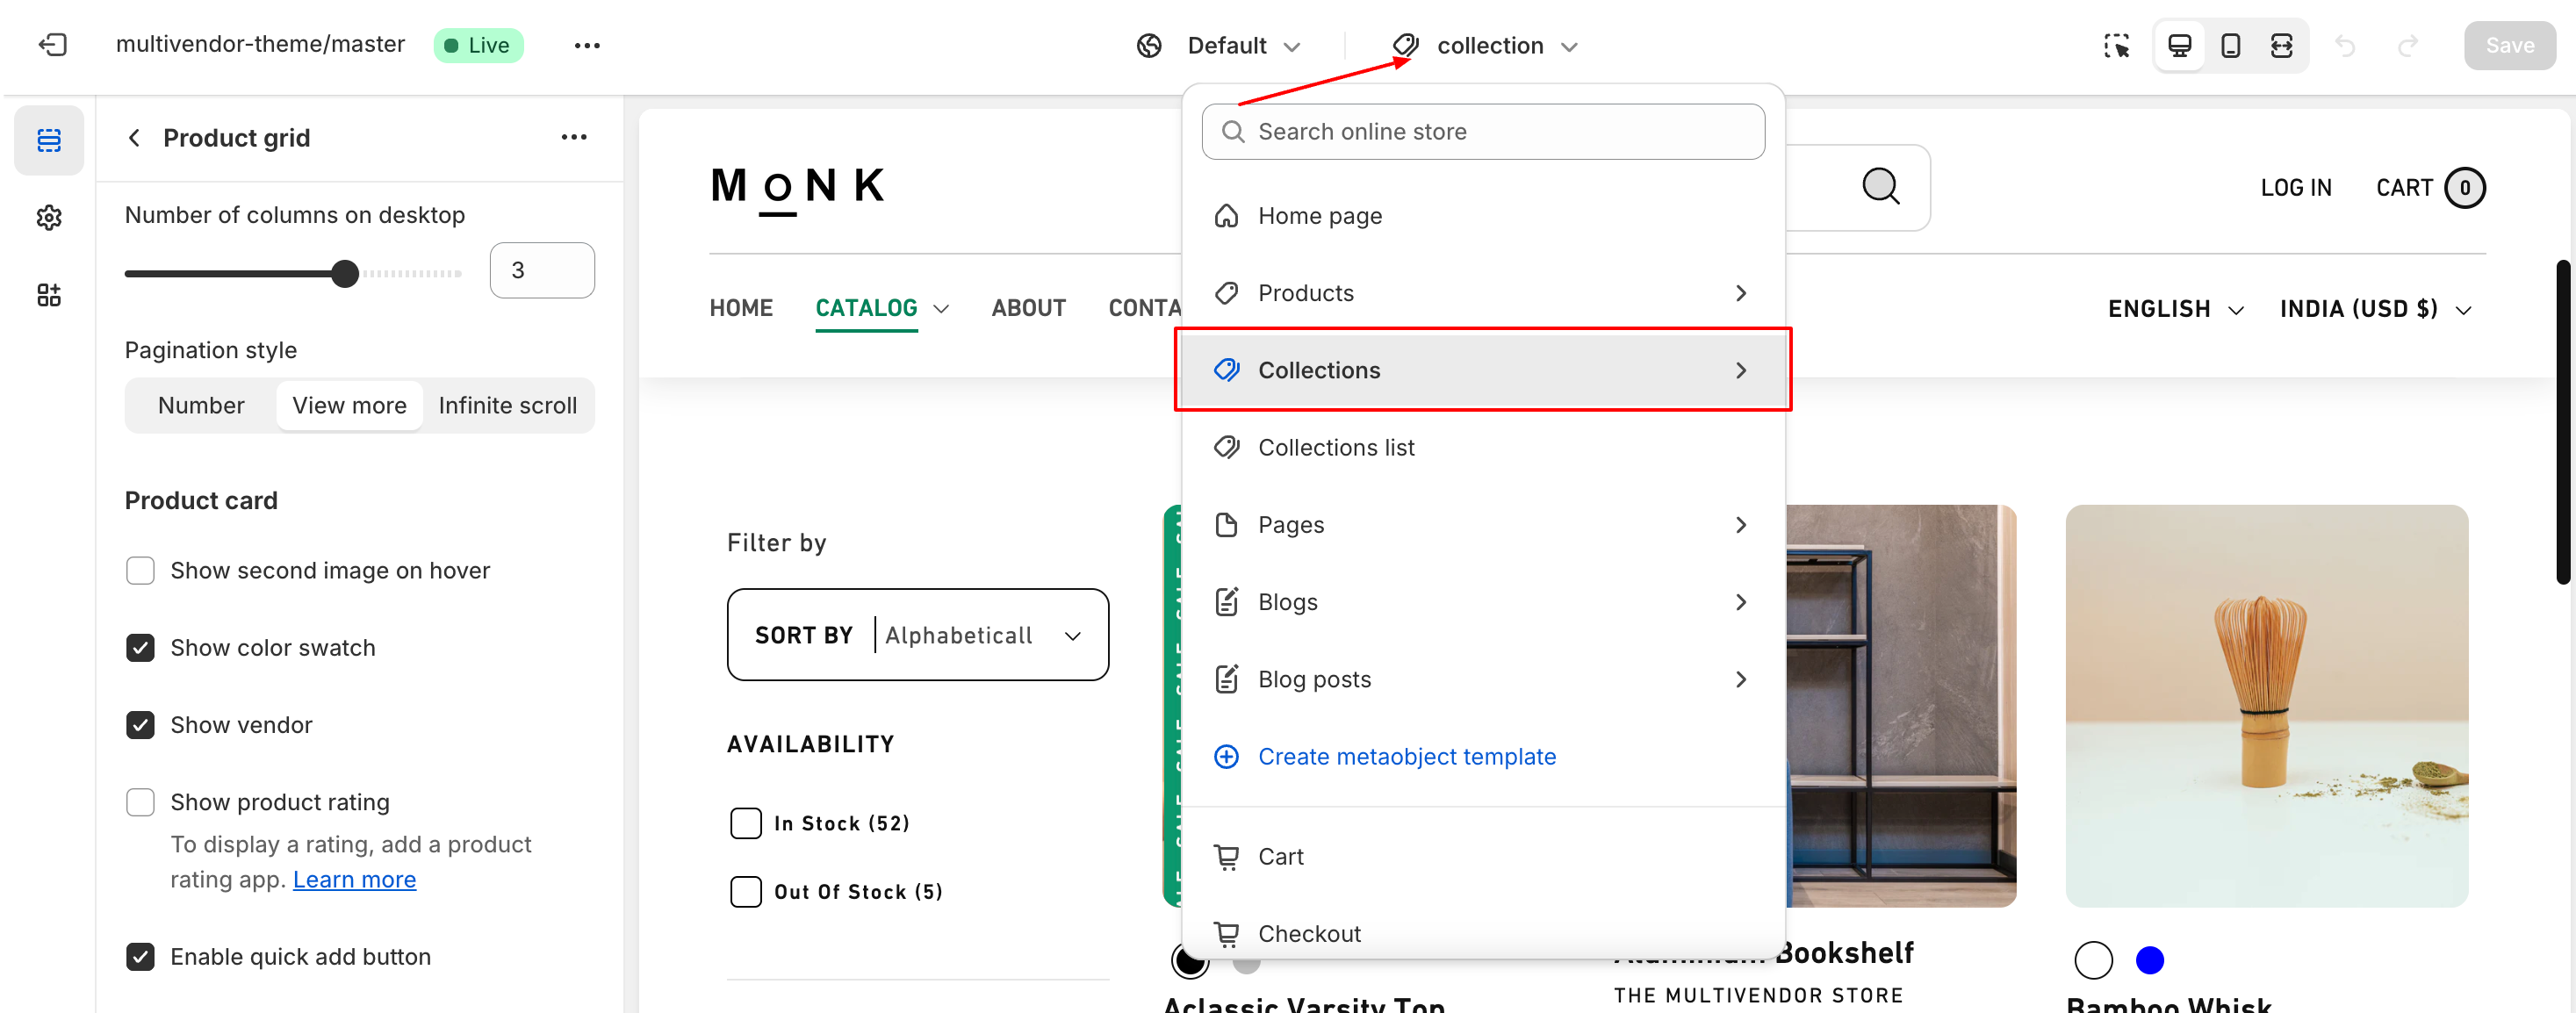
Click on "Product grid" from the section list located on left side.
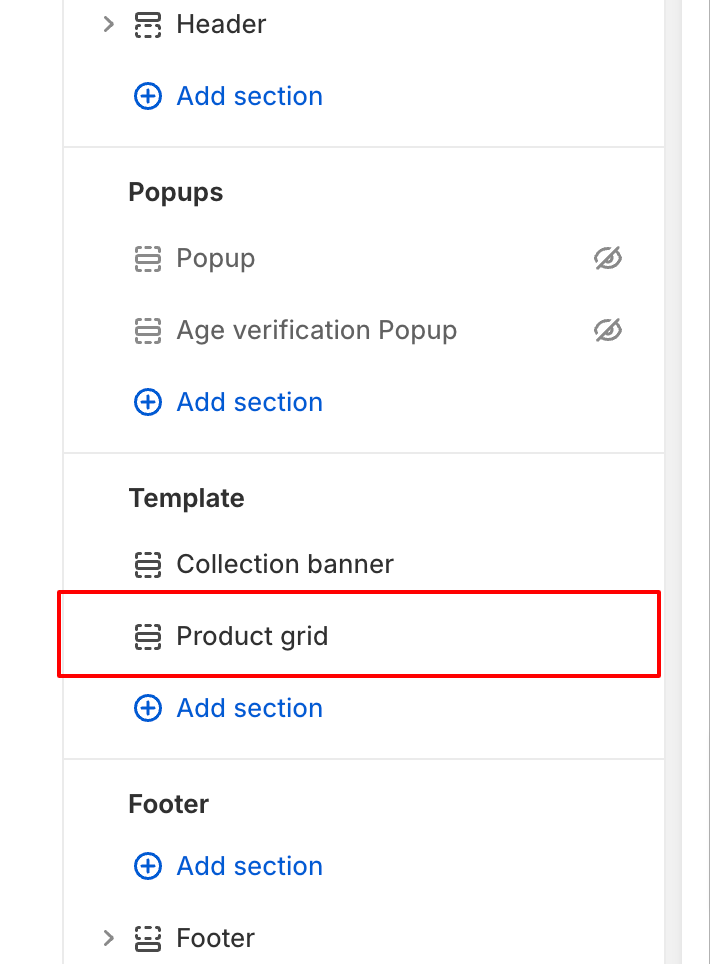
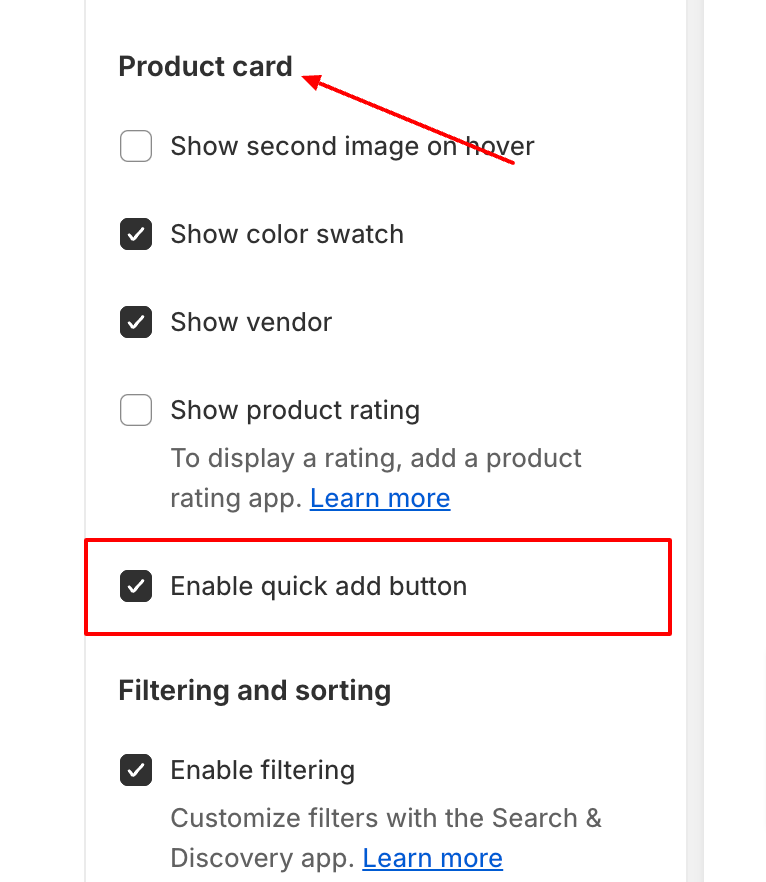
You can see option "Enable quick add button" under "product card" options
Still find help?
Mail your query on support@slashthemes.com